
by Krista | Aug 31, 2015 | Winter
Saturday morning Bear and I were up at 4 a.m. to pack the car, dress in medieval clothes, and head to Fort Lytton for a day with friends representing the 12th century.
Normally during medieval events, we are busy from morn until night doing demonstrations and talking with the public, but this one was laid back and relaxed and so much fun. We actually had time to hang out with each other, and that was brilliant.
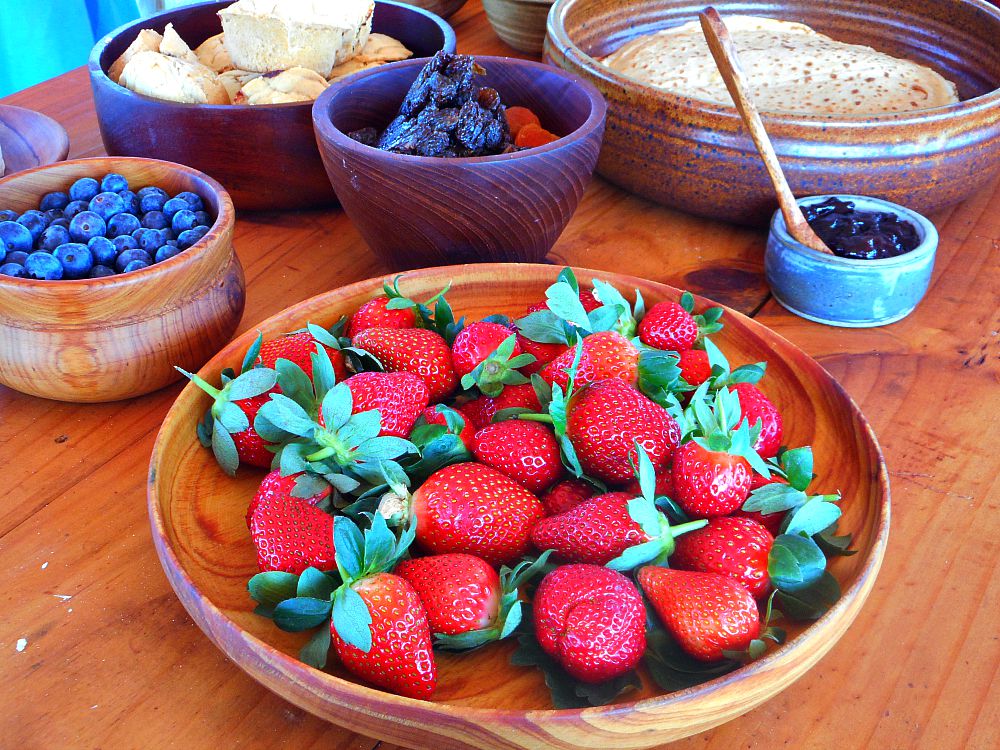
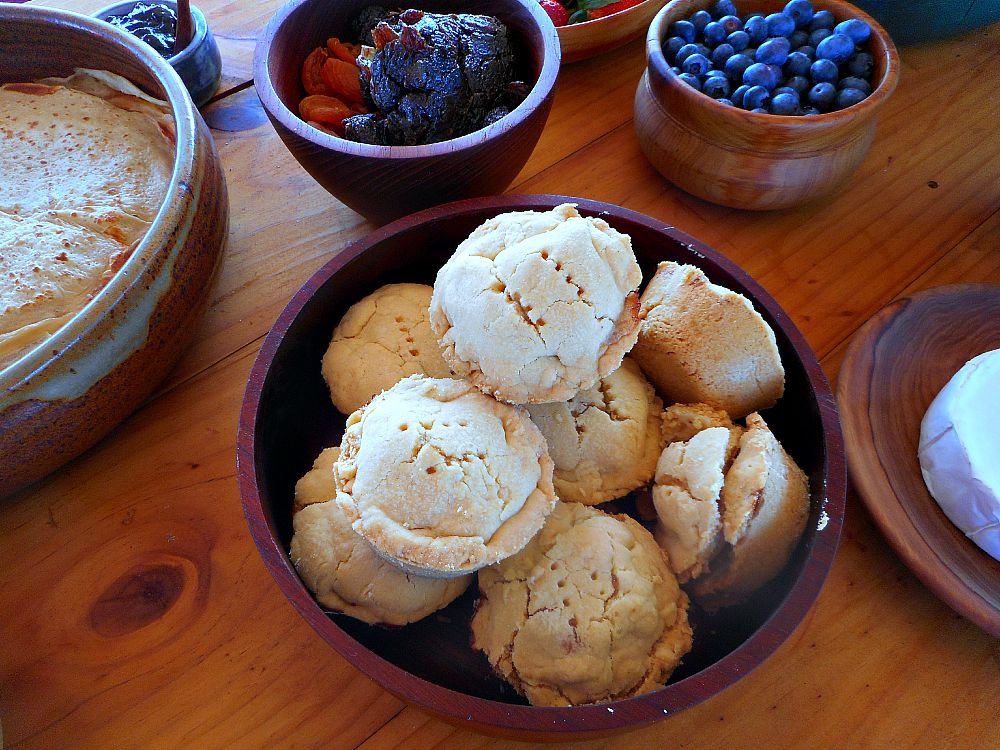
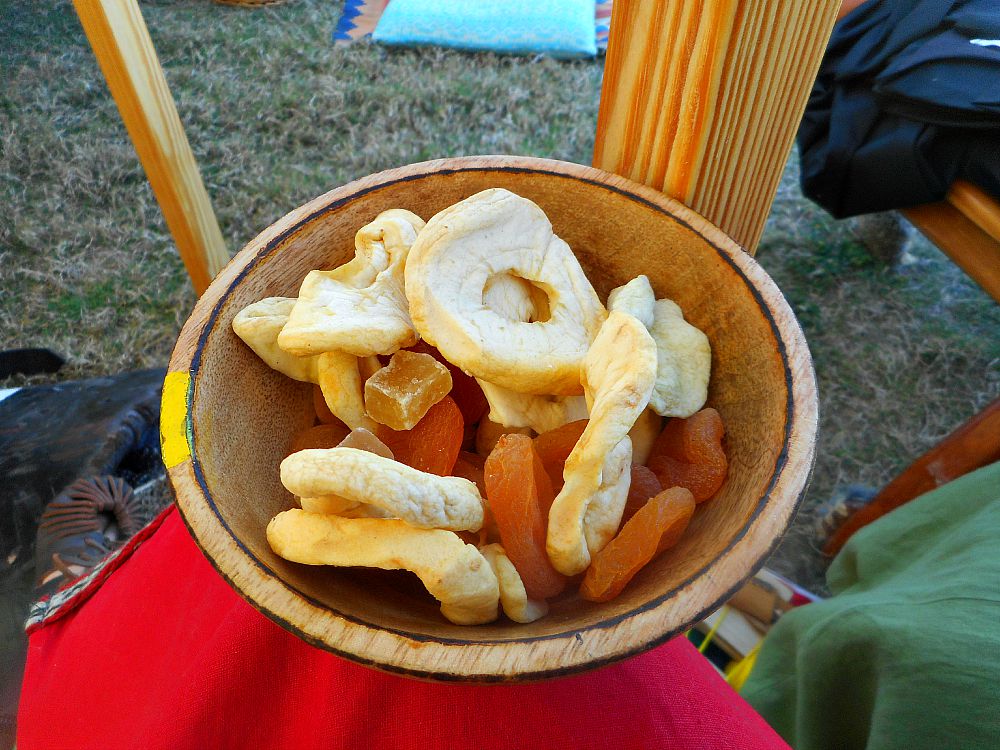
We got to wander into each other’s tents and see the variations of food, craft, and furniture used by different groups representing different cultures. I was delighted by these rustic little apple hand pies.
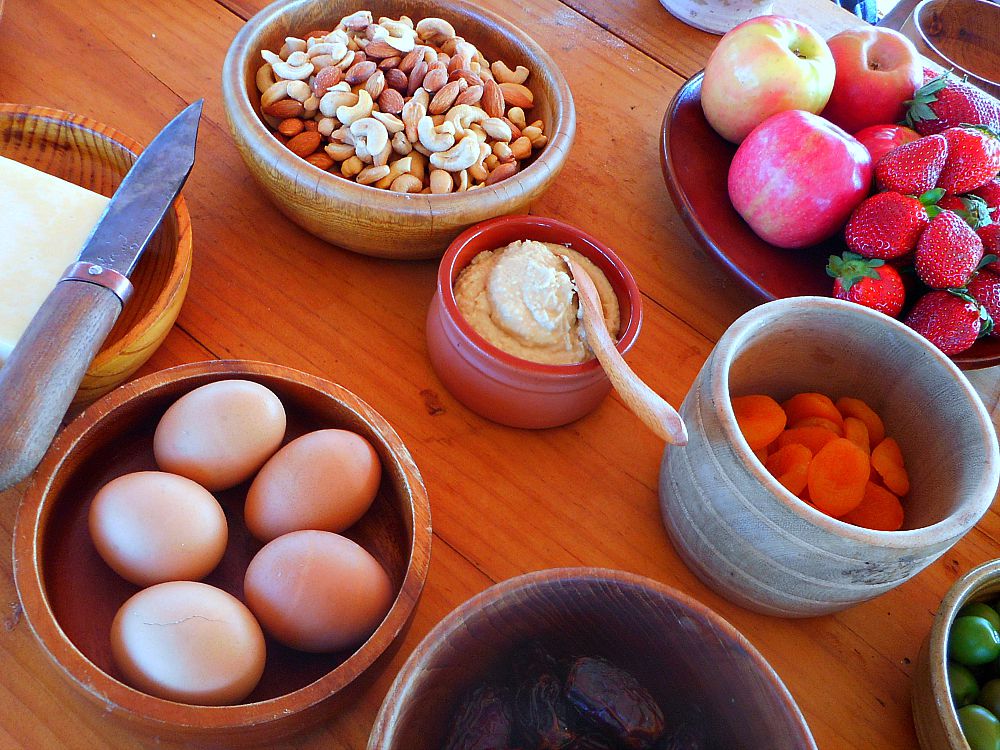
And who can resist hummus, salted nuts, smoked hams and sausages, dried fruits, lovely cheeses, and those oh so gorgeous strawberries? Medieval food provides mighty good eating indeed.
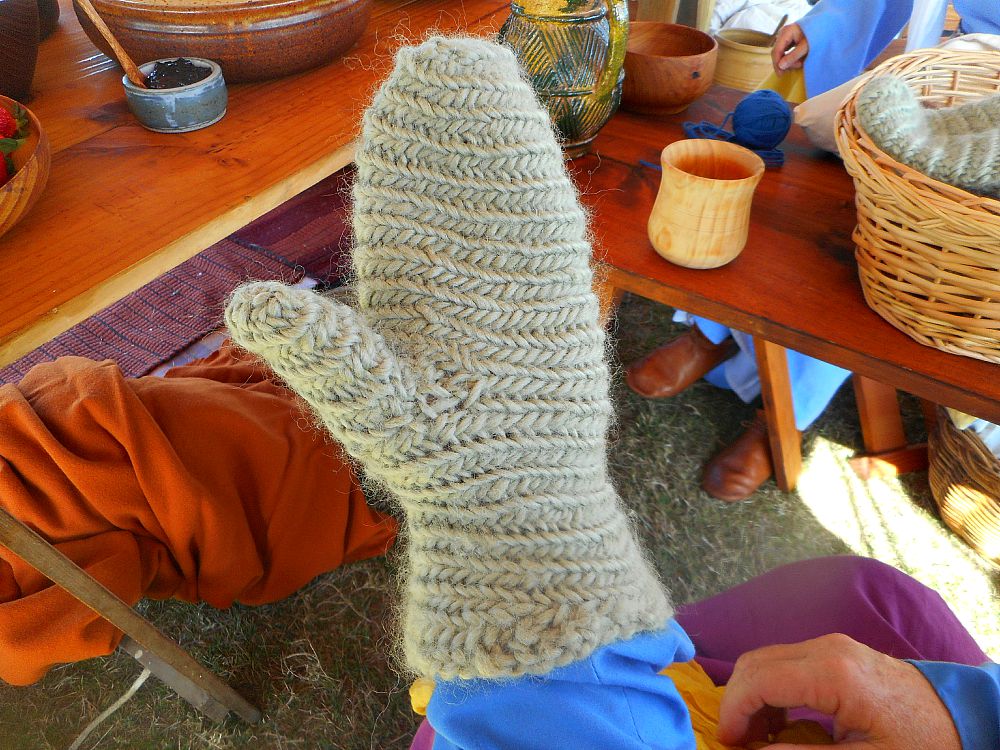
I also liked looking at all the unique crafts practiced by each group. My friend does the most beautiful naalbinding, a precursor to knitting, churning out cozy mittens, socks, slippers, and cord. Her hubby makes handmade leather shoes that are gorgeous.
My friend Sue and I spent several hours making brightly colored Bedouin tassels for our Bedouin tent, camel saddles, and robes. It was so fun to sit in the shade of the tent, visiting with old and new friends as we worked.

Since it was such a small event, our Templar friends told us to not worry about bringing all our gear, and instead shared their tent with us. It was so great to get to spend time together, telling stories and jokes, swapping tales about past events, and sharing our latest bits of medieval research and discovery.
I especially loved learning about the history of the Templars, their role in the Crusades, and the diverse assemblage of pilgrims from around the known world who accompanied them to the Holy Land.
My favorite bit was hanging out with such a great group of people, doing something we love with others who love it too.

Bear and I returned home exhausted but inspired, full of ideas for projects and improvements and additions to our camp. With our next event less than a month away, we have a lot of fun work to do.
What is your favorite memory from your weekend? xo

by Krista | Aug 28, 2015 | Winter
As I got ready for bed Wednesday night, I opened our bedroom window just in case rain started to fall. I had watched the clouds all afternoon, hoping it would rain, and if it did, I wasn’t going to miss it. I turned on my lamp, cozied in with my book, and began to read.
About an hour later the silence was broken by a rush of wind through the gum trees and the first tentative splatters of rain on our tin roof. Bear and I grinned. The rain was coming at last.
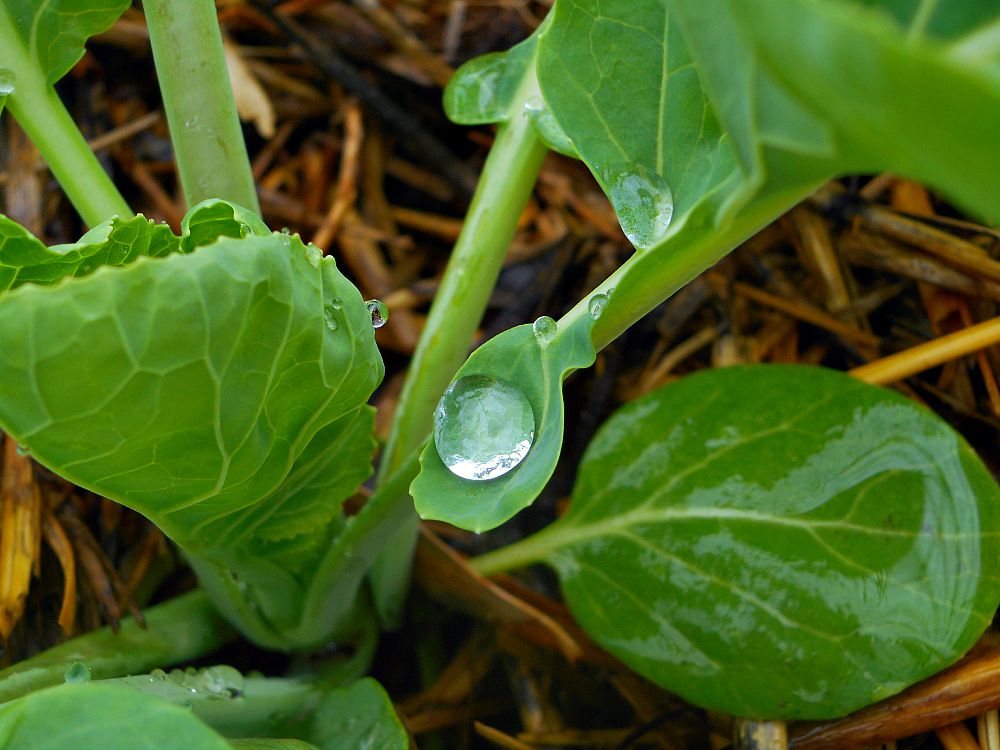
It rained through the night and when we woke the next morning, it was still falling. It was the best kind of rain, soft, gentle, quiet, the sort that stays where it falls and doesn’t disappear in a sudden deluge or get dried up by fierce winds.
I couldn’t stay inside on such a day, so I donned my gum boots, hat, and flannel shirt, grabbed my pitchfork and headed out to the gardens.
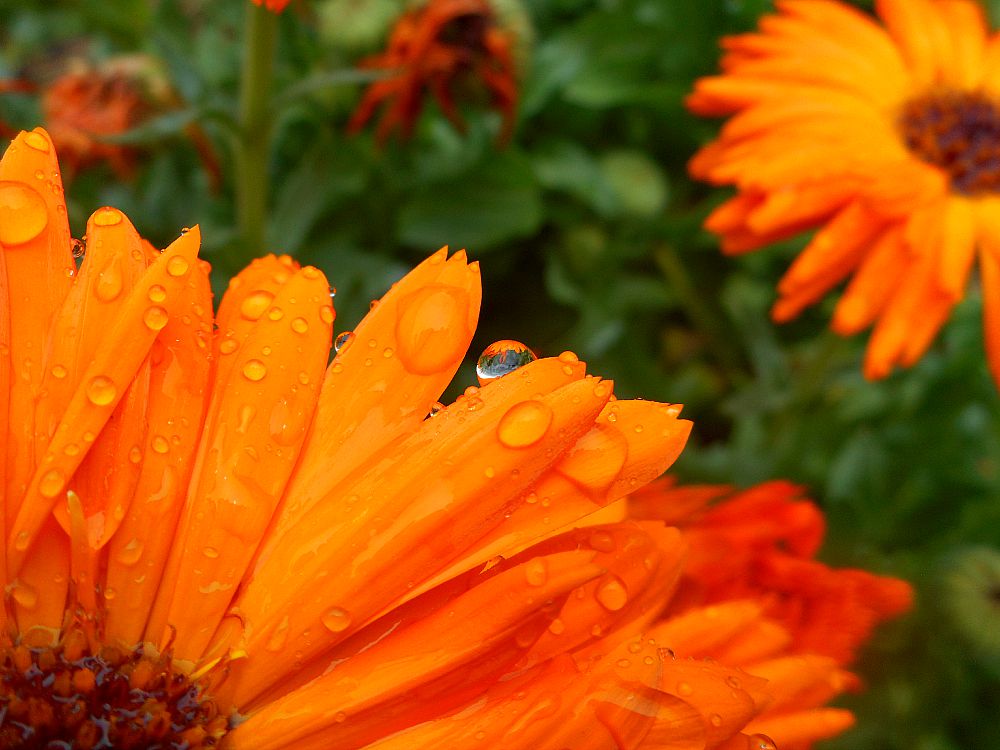
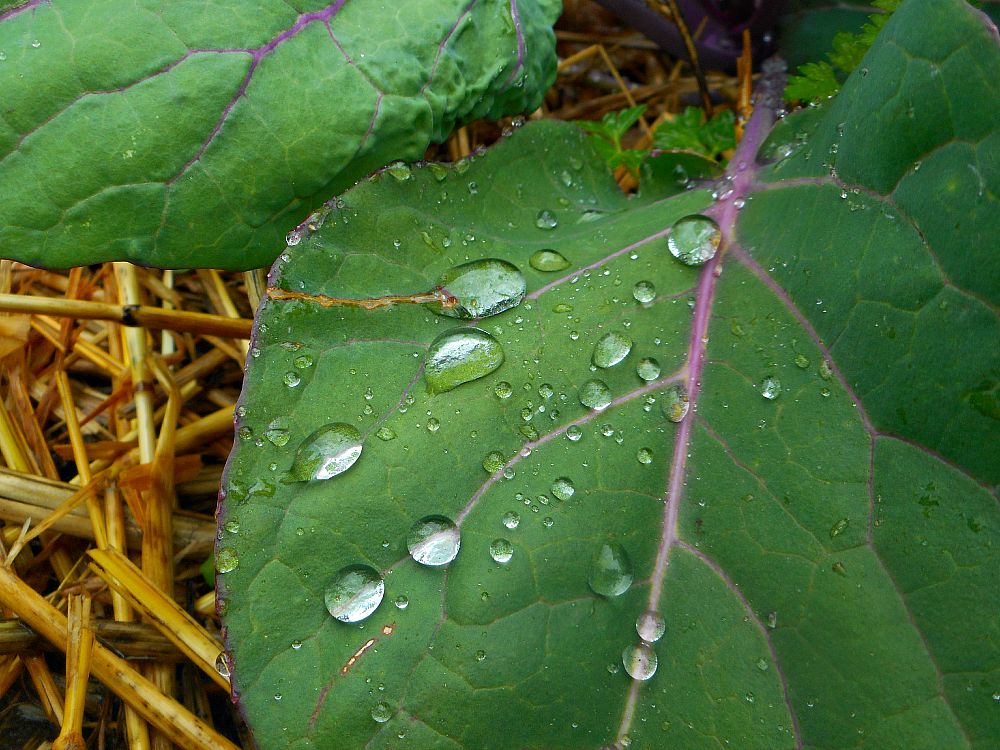
It’s amazing what a difference a bit of rain makes to plants. Although they live with regular watering, they absolutely thrive with rain. They seem to relax when the rain falls, no more stalwart growing in the face of drought and withering heat, this is when they grow without even trying.
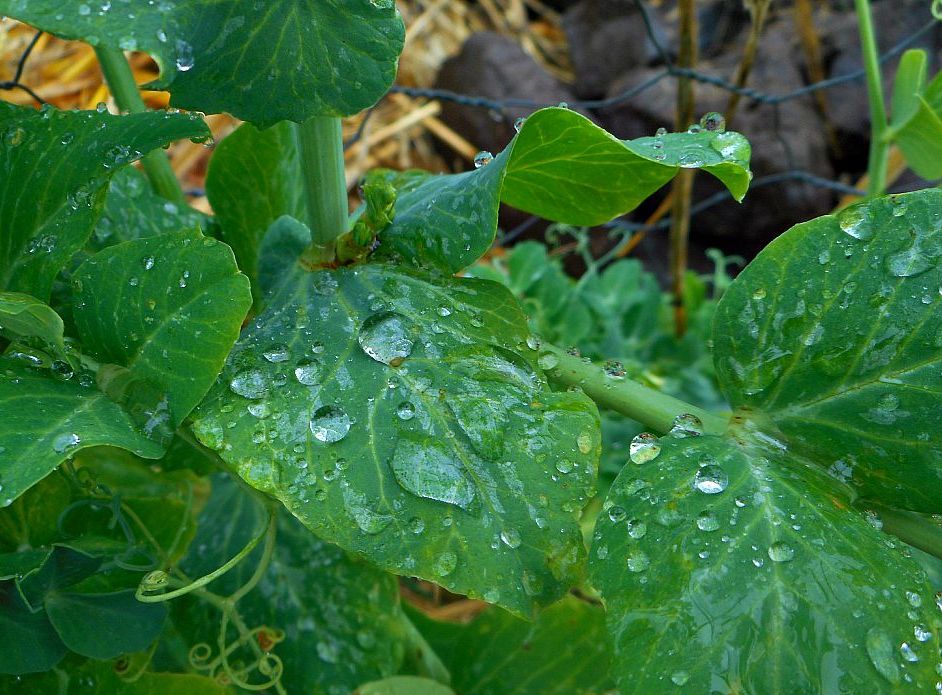
Peas, beets, radishes, and cabbages, radicchio, carrots, silverbeet, and kale, they all perked up, lifting leaves to the sky to catch as much water as possible and let it run down to their roots.
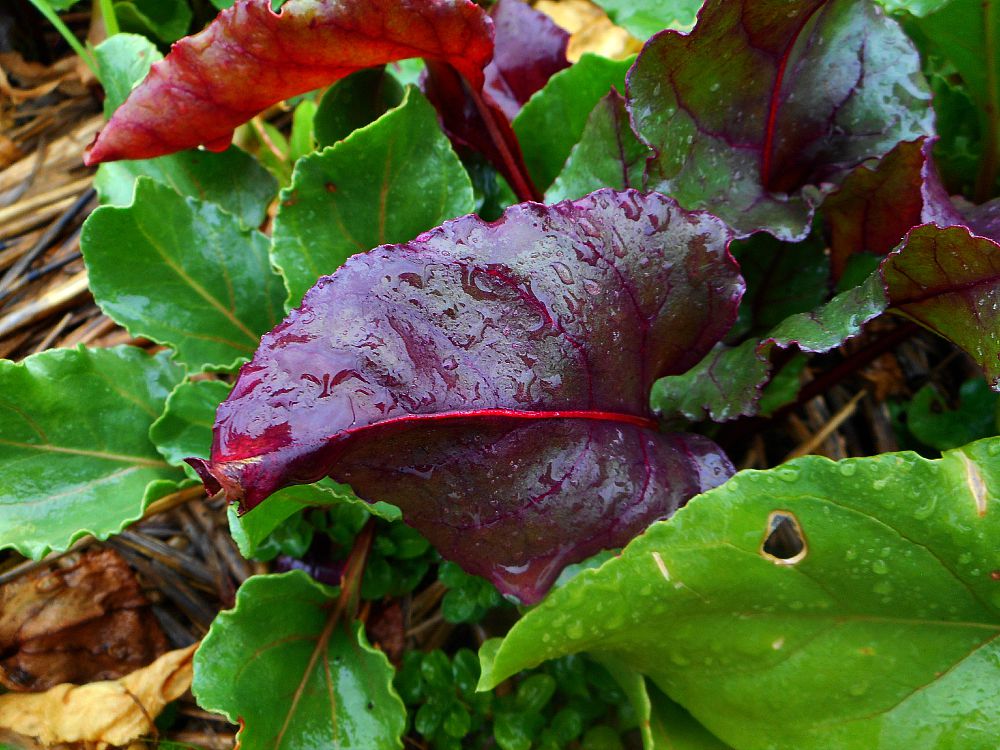
I worked next to them as the rain fell, steadfastly digging a new garden plot for my berry bushes.
Digging garden beds in Australia is serious business. The sun-baked earth does not welcome shovels, and weeds, grasses, and a ludicrous number of rocks have to be removed with crowbars, pitchforks, and sheer grit. I broke one pitchfork with my exertions and was limping along with a handle-less one I found in the barn when Bear approached positively beaming as he handed me what he called “an early birthday present” – a beautiful stainless steel, ergonomic, “the best money can buy” pitchfork. I nearly cried right then and there. He knows the way to my heart.
I hugged and smooched him soundly and returned to my endeavors. It took me all day. Alllllll day. But I did it. And Bear took a break from his projects to help me haul wheelbarrows full of goat manure and sawdust. I spread them over the planting areas, dug them in, and then we set up two big frames for the berries to ramble along. I planted loganberries and boysenberries and am so excited to see them get big and productive in the years to come.
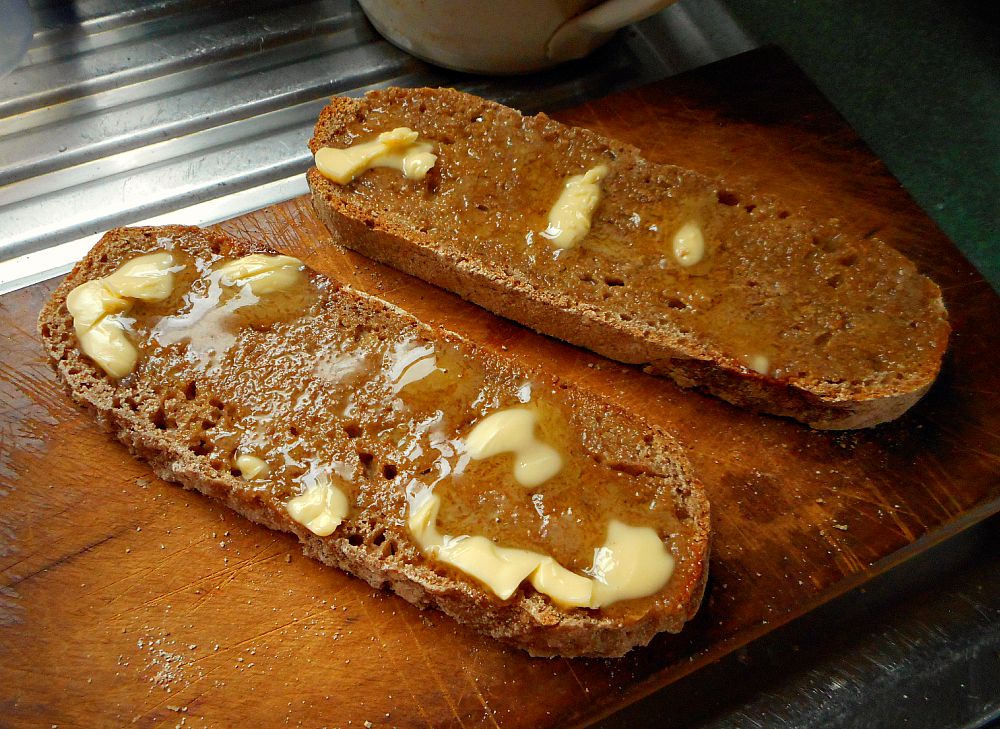
During our breaks, Bear and I love to have slices of homemade spelt bread with butter and honey, or cheese and tomatoes, or piled high with tuna salad.
Unfortunately my oven died this week. This death was preceded by the demise of my hot plate and electric frying pan. Good heavens. When my bread machine kicked the bucket this morning all we could do was laugh. Because what else are you going to do?
Determined not to let these disasters get the better of me, I set my brain to work on another way to cook bread that didn’t require me going outside and building a fire. I wondered if you could bake bread in a slow cooker, and went online to find out. Much to my delight I learned that you can!!!
You don’t get the rise or crust that you do from a regular oven, but if you don’t mind a soft crust and lovely but dense loaf, you’re in business. I made a spelt loaf today and was delighted with how it turned out, and more than a little relieved. While we save up to get a new stove, at least we can still have fresh bread. That makes me smile.
What is your favorite quick lunch when you’ve been working outside? xo
Spelt Bread Dough
Ingredients:
3 cups spelt flour
1 tsp sea salt
1 Tbsp brown sugar
2 tsp active dry yeast
1 Tbsp olive oil
1 large egg
1 cup water
baking paper
Directions:
- Turn slow cooker on high.
- Place dry ingredients into large bowl and whisk together.
- In small bowl, whisk together olive oil, egg, and water.
- Add wet ingredients to dry and stir to combine.
- Scatter flour on counter and place dough in center.
- Knead until dough is smooth and elastic.
- Set dough in center of large piece of baking paper and lower into slow cooker.
- Replace lid and cook for 1.5 hours, checking to make sure it doesn’t burn on the bottom.
- Remove from slow cooker and cool on rack.
- Note: slow cookers cook at different temperatures so check your bread (the bottom will have a good crust on it) to see what cooking time is best.

by Krista | Aug 26, 2015 | Winter
Much of the work around our farm requires a great deal of bustling, lifting, hauling, and heaving, but there’s one that is pure relaxation: watering.
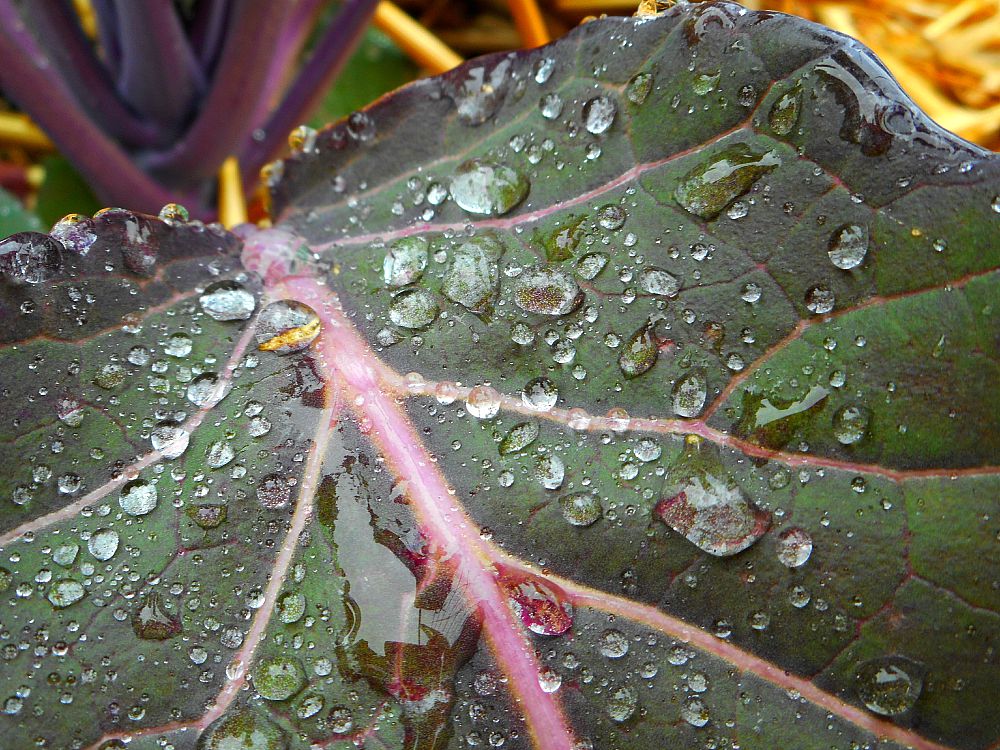
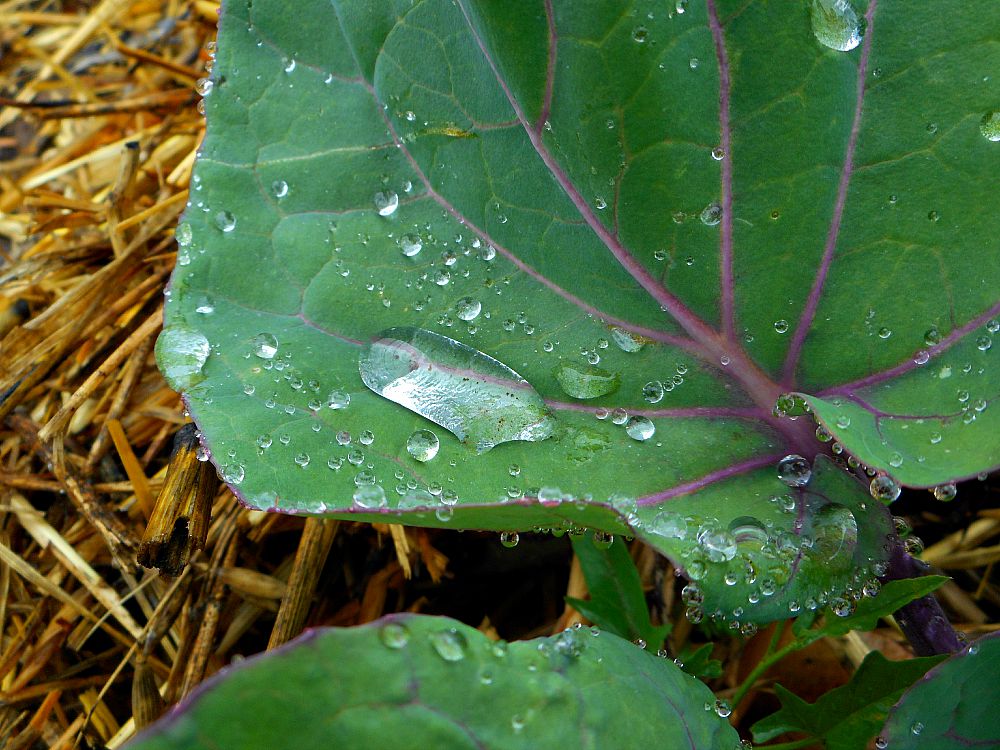
I really like watering my gardens. Seeing the water droplets cascade onto parched leaves and sink deep into the soil, causing the plants to perk right up. I like how the colors change once the film of dust is removed. They intensify, deepen, and look so fresh and clean that you can’t help but breathe easier.
I also love the smell of damp earth and sodden hay, drenched leaves and wet wood, how a mere sprinkling of water can draw out the heady fragrances of rosemary, lavender, and dill.
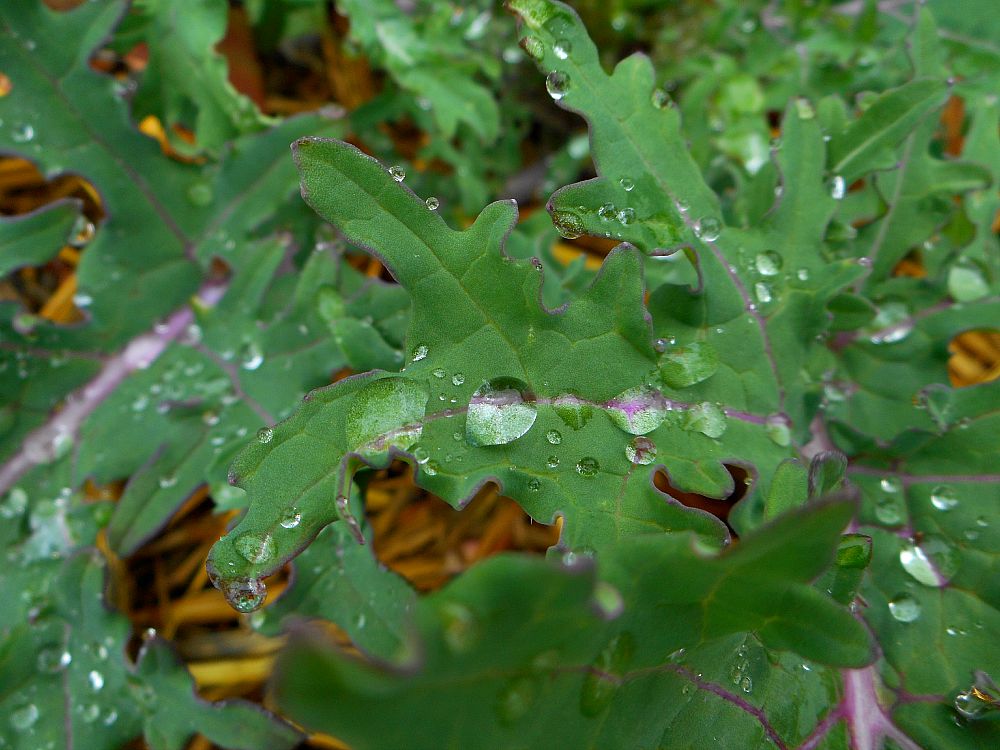
And I really like how it looks. There’s something quite magical about crystalline water droplets clinging to stalks, stems, and blossoms.
Watering is such a peaceful chore, almost meditative as you watch the spray fall to the earth, shimmering in the sunlight, pattering gently onto cabbages and apple trees, sugar snap peas and radishes. It’s my “just breathe and let the cares of the world fall away” time. As the clutter in my whirring brain dissipates, I’m able to gently work through niggling issues, find resolutions to problems, and clarify what to do next. I like that. Giving life to the gardens while renewing my own.
After a morning spent watering our five gardens and three orchards, I’m definitely ready for something hearty, nourishing, and cool. Even in winter, working for hours in the sun makes me crave cooling foods.
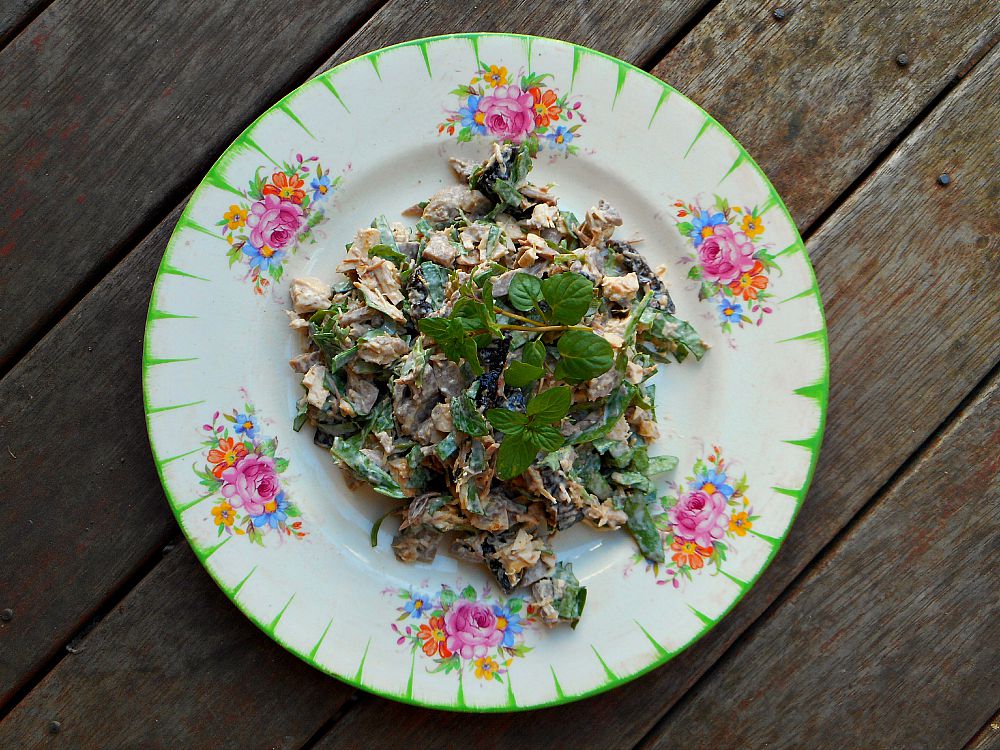
This week my favorite dish has been chicken salad filled with lusciously sweet prunes, earthy sorrel, and sprightly mint, coated with a creamy, cinnamon-y dressing. Yep, it hits the spot nicely.
Do you like watering your garden? xo
Chicken Prune Salad with Sorrel and Mint
Ingredients:
2 cups chicken, roughly chopped
¾ cup prunes, chopped
1 handful sorrel leaves, chopped
¼ mint leaves, removed from stem (if large, chop)
1/3 cup mayonnaise
1 Tbsp runny honey
1 tsp apple cider vinegar
½ tsp ground cinnamon
1 sprig mint leaves for garnish
Directions:
- In large bowl place chicken, prunes, sorrel leaves, and mint leaves. Toss to combine.
- In small bowl whisk together mayonnaise, honey, cider vinegar, and cinnamon.
- Pour dressing over chicken mixture and stir well to coat. Garnish with mint leaves.
- Serve immediately or chill in fridge until ready to use.

by Krista | Aug 23, 2015 | Winter
With the arrival of warmer weather, my gardens have shot up, producing all sorts of good things to eat. My goal is to have something from our farm with every meal.
Sometimes it’s eggs and dill with breakfast, sugar snap peas and coriander with lunch, kale leaves with dinner.
It feels so good to be growing what we need each day, things that make us healthier and stronger.
But sometimes I like to venture outside the garden and do a bit of foraging.
I’ve always liked the idea of foraging, and I’ve done my fair share picking huckleberries in the woods in British Columbia, collecting wild fennel in Italy, and this week, collecting plantain leaves from our Big Orchard in Australia.
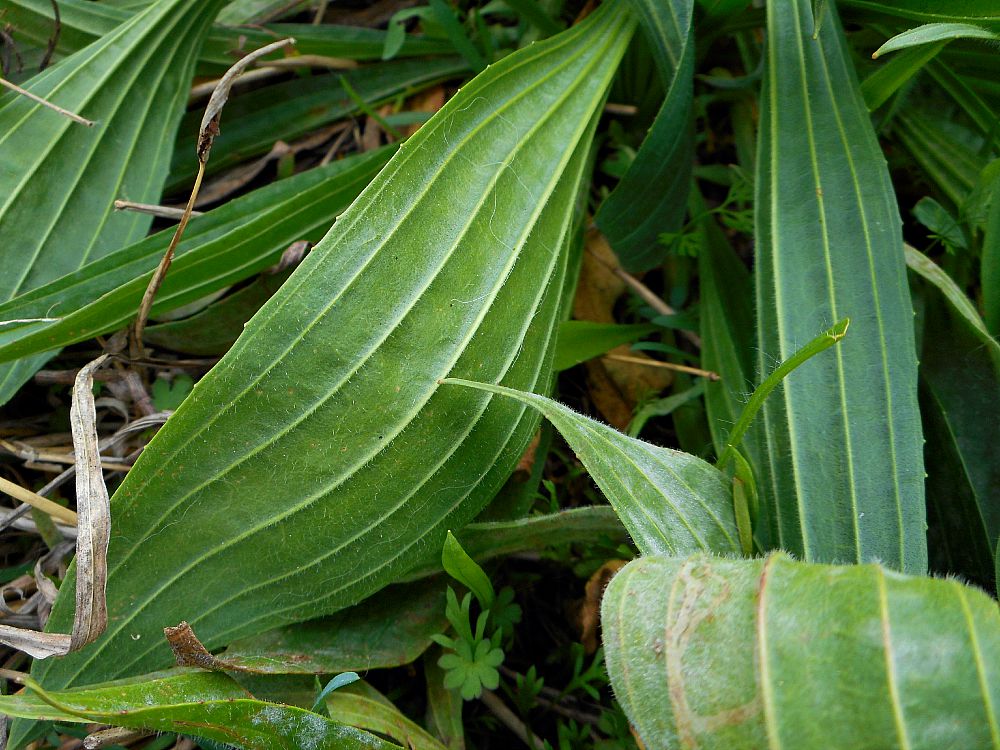
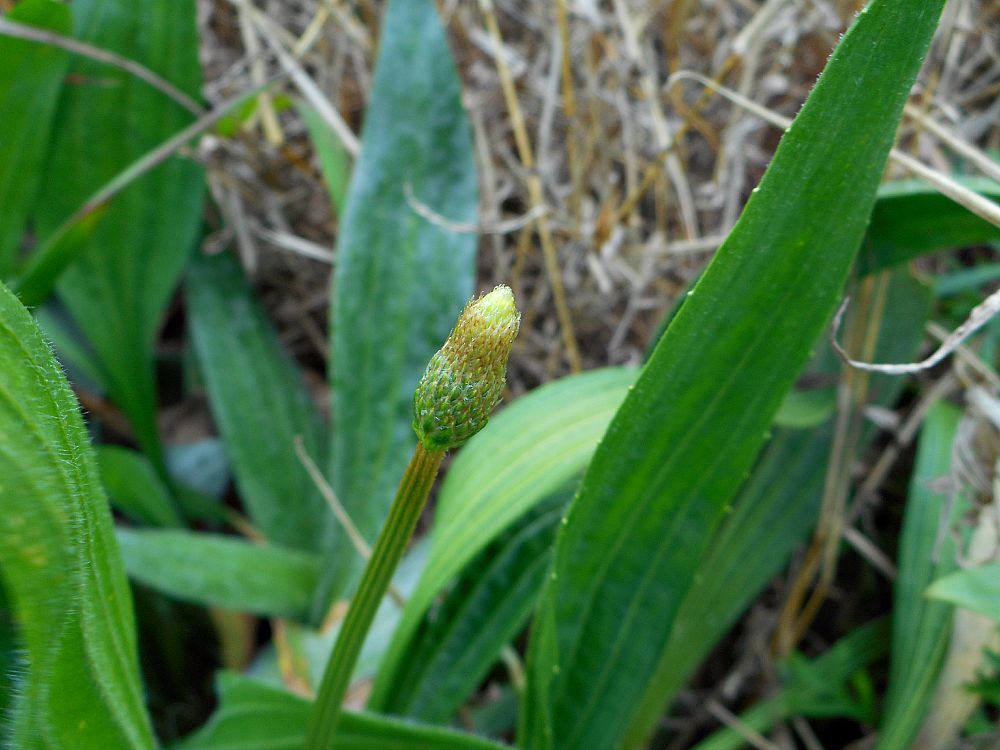
Plantain is one of the nutrient-rich “weeds” that grows unbidden in nearly every environment on earth. You can find it in alpine meadows and shady woodlands, rain-drenched roadsides and heat-baked Australia.
For some reason, plantain has taken up residence in our Big Orchard, flourishing in verdant clumps near the citrus trees. While I pull out other weeds that might draw nutrients away from our fruit trees, I encourage the plantain knowing it will provide free, nutritious food for us throughout the year.
Foraging expert, Katrina Blair, has written a fantastic book called: “The Wild Wisdom of Weeds: 13 Essential Plants for Human Survival.” I love it. Chock full of history, folklore, and scientific research, it also contains excellent recipes for how to eat nutrient dense wild foods such as dandelion, thistle, amaranth, and, of course, plantain. Plantain is loaded with good things: vitamin E, calcium, potassium, Omega-3 fatty acids, iron, micronutrients, and protein. It is also anti-inflammatory, a digestive aid, helps women during PMS and menopause, and, oddly enough, increases sperm count in men, according to the latest research from the University of Malaysia.
Blair’s book has had me looking at our woods, fields, and paddocks with a whole new purpose, and set my creativity whirring as I dream up ways to use these nutritious and delicious wild foods that grow for free all around us.
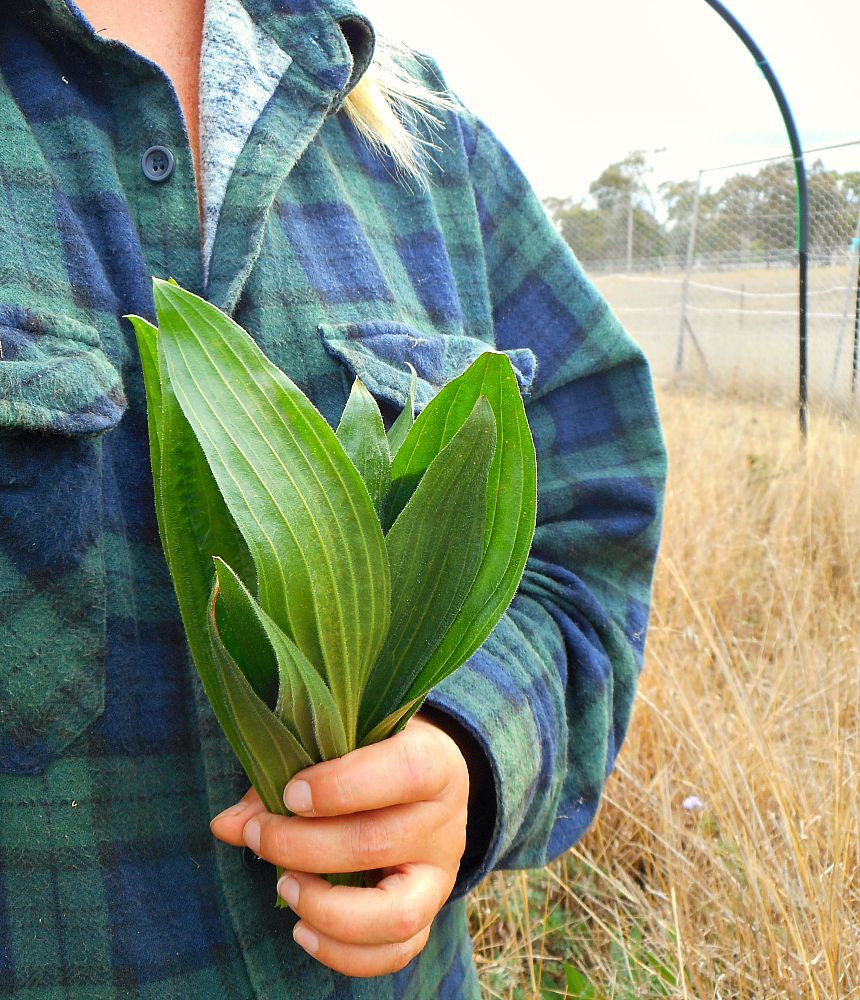
This weekend I picked my first harvest of plantain leaves and set to work turning them into dinner.
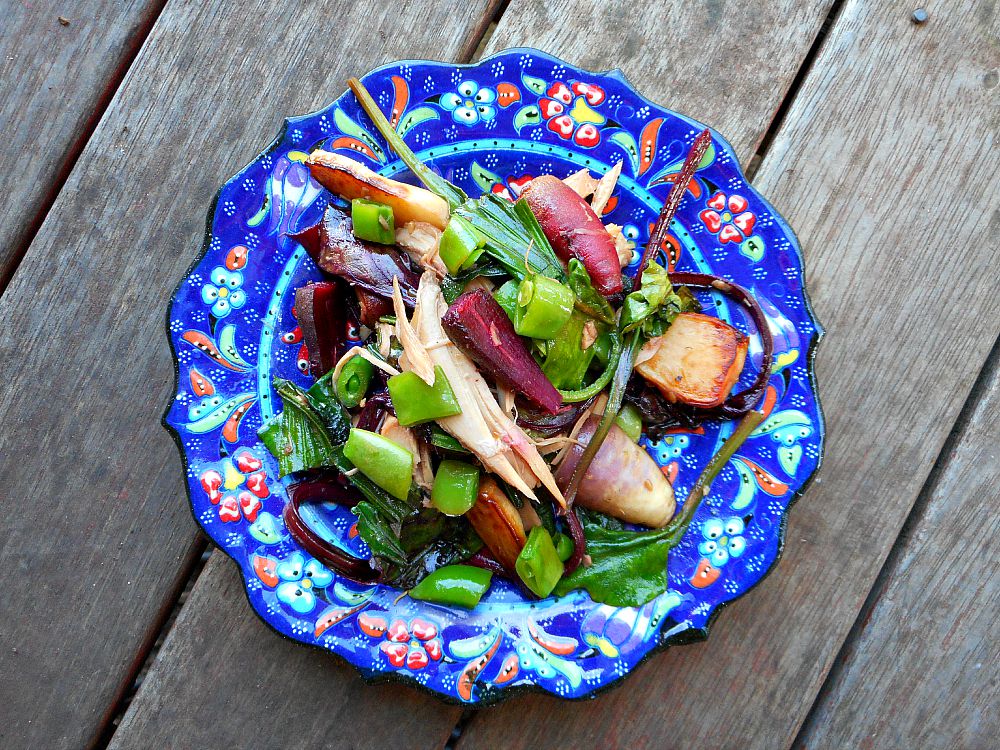
I picked baby radishes and baby beetroots from my garden, along with a few kale leaves and an Asian green I can’t remember the name of. I heated up olive oil in a large pan with a few chopped garlic cloves, then added the halved radishes and beetroots to brown and caramelize while I chopped the kale, greens, and plantain leaves. Cooking radishes removes the heat completely and leaves you with a sweet, earthy vegetable that is truly delicious.
When the root veggies were done, I added all the greens, covered the pan and cooked the greens for a minute or two. Then I added shredded chicken, a handful of sliced sugar snap peas, and a hearty drizzle of ginger garlic sauce, heated everything through and dinner was ready.
Absolutely delicious. The sweetness of the root veggies and dressing perfectly balanced the earthy greens, while the chicken gave a savory note and the peas gave a light, fresh crunch.
For my first plantain dish, we gave it a resounding YES!
Do you have a favorite food you like to forage? xo
Wild Plantain Stir-Fry
Ingredients:
1 bunch plantain
1 bunch red Russian kale
1 bunch Asian greens
olive oil
2 garlic cloves, sliced
½ cup baby radishes, trimmed and halved
½ cup baby beetroot, trimmed and halved
1 cup shredded chicken
½ cup sliced fresh sugar snap peas
¼ cup ginger garlic dressing (if you don’t have a bottle, whip up your own with fresh ginger, garlic, soy sauce, sesame oil, and a bit of brown sugar)
Directions:
- Wash and chop greens and set aside.
- Heat olive oil in large frying pan, add garlic and cook about thirty seconds. Add radishes and beetroot, cut side down. Fry until golden brown on cut surface.
- Add greens, stir to coat with oil, cover and cook for 1-2 minutes until just wilted.
- Add chicken, sugar snap peas, and ginger garlic dressing, stir to coat, cover, and heat until just heated through, about 2-3 minutes.
- Remove from heat and serve warm or cold as a salad.

by Krista | Aug 21, 2015 | Winter
Bear and I caught our first major cold-flu of winter this week, so we’re both rather pitiful and sticking close to home as we nurse sore throats, headaches and the lot.
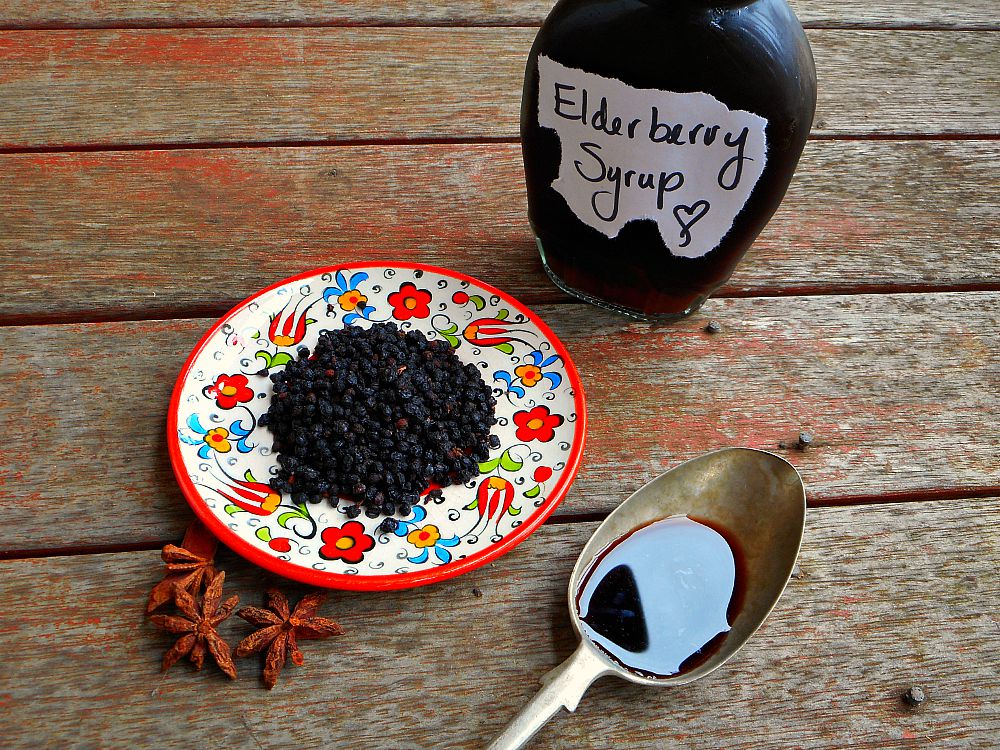
Yesterday my friend Katie urged me to make elderberry syrup to both fight the illness and ease our burning throats. So I did just that.
I hauled out my carefully saved hoard of elderberries, a collection of spices, rainwater from our tank, and raw honey.
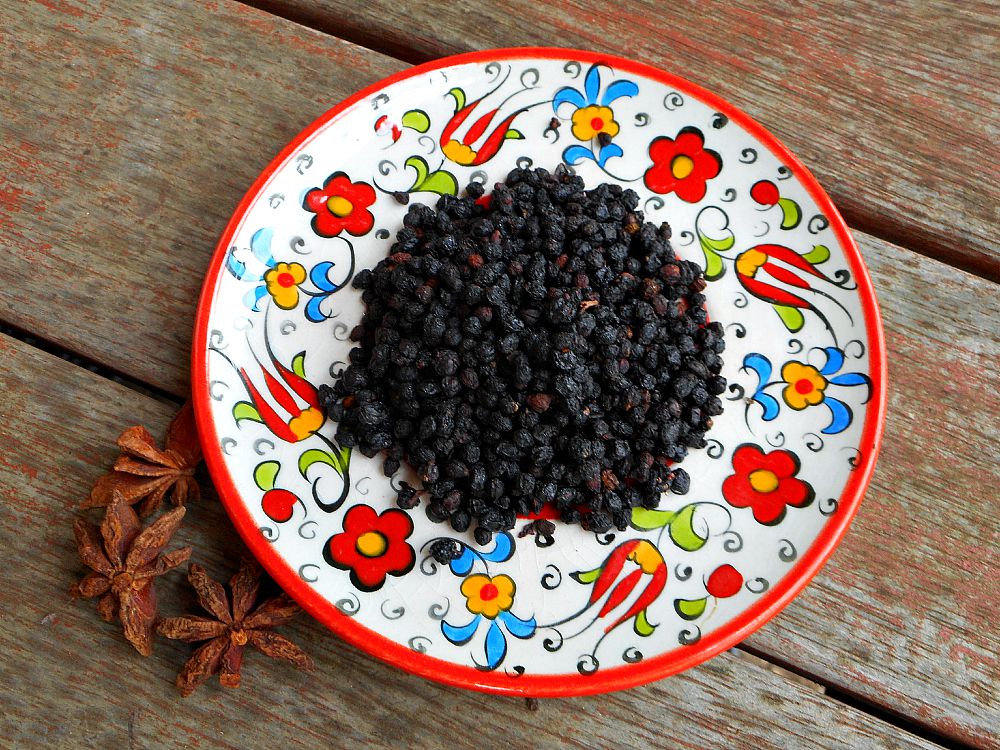
Elderflower syrup is lovely on its own, but the addition of bacteria and virus-fighting spices makes it extra good. I like cinnamon, cloves, ginger, cardamom pods, and my favorite, star anise. You could even through in some lemon zest.
Thankfully it not only tastes good and works well, it’s also easy to make. Just put everything but the honey in a saucepan and simmer until the liquid reduces by half. Then strain, cool, sweeten with the honey, and start taking 1 Tbsp every few hours (For grown-ups. Consult your pediatrician before giving elder to children.). I use about 1/4 cup of raw honey for mine, but if you want a thicker syrup consistency and more sweetness, add more honey.
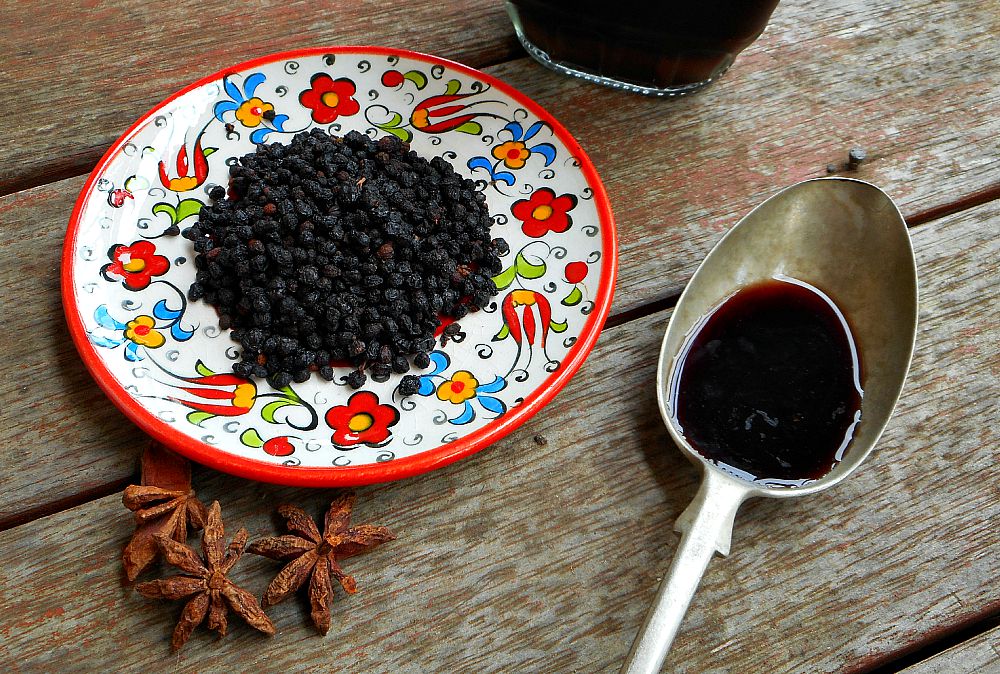
It is incredibly soothing. I told Bear it’s like each spoonful is a warm, soft blanket for my throat.
The efficacy of elderberries isn’t just folk medicine. Scientific studies have found it to be a safe, efficient, and cost effective treatment for influenza.
Sixty patients (aged 18-54 years) suffering from influenza-like symptoms for 48 h or less were enrolled in this randomized, double-blind, placebo-controlled study during the influenza season of 1999-2000 in Norway. Patients received 15 ml of elderberry or placebo syrup four times a day for 5 days, and recorded their symptoms using a visual analogue scale. Symptoms were relieved on average 4 days earlier and use of rescue medication was significantly less in those receiving elderberry extract compared with placebo.
Department of Virology, Hebrew University-Hadassah Medical School, Jerusalem, Israel
I love when science and tradition work hand in hand to help us feel better faster.
Now I’m going to curl up in bed with a good book and hot tea.
Do you have a tried and true remedy for helping you through cold and flu season? xo
For more recipes for traditional remedies, click here.
Elderberry Syrup
Ingredients:
1 cup elderberries (dried)
4 cups water
spices (cinnamon stick, clove buds, star anise, cardamom pods, etc)
raw honey to taste (I use about 1/4 cup, use more for thicker syrupy consistency.)
Directions:
- Place elderberries, water, and spices (NOT HONEY!) in medium pan over high heat. Bring to boil, reduce to simmer, cover and simmer for 20-30 minutes or until liquid reduces by half. Remove from heat, stir well and let steep a further 5-10 minutes.
- Strain mixture through a sieve, discard spices, save berries for baking or compost them.
- Let cool 5-10 minutes then stir in honey to taste.
- Pour into sterile bottles, seal, and refrigerate or freeze until ready to use.


